

介紹如下:
1、首先這是一顆完整的聖誕樹的基礎。
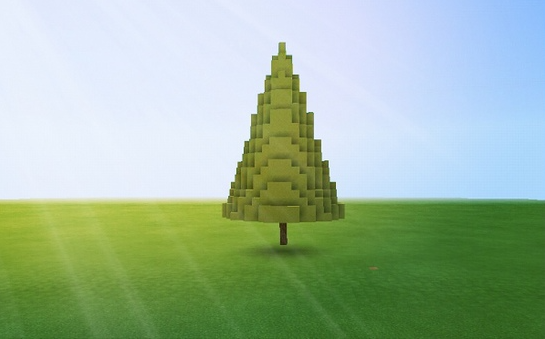
2、接下來把樹切成N片講解。
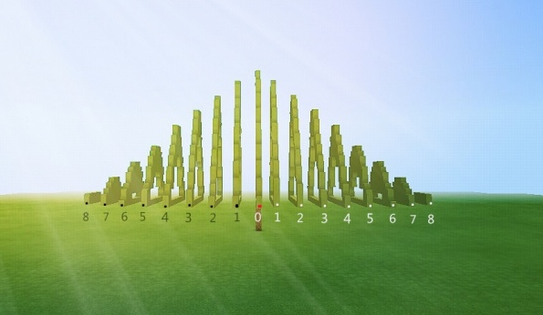
3、從中間往右邊講解。

4、每一片擺放的方塊高度格數均用數字標注。

5、搭建方法2塊半磚為一階梯,圍繞聖誕樹基礎搭建。

6、用整塊石英塊搭建不那麼細緻,所以採用石英半磚圍繞搭建一圈。
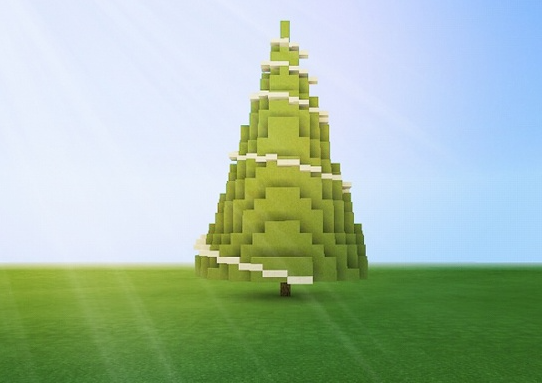
7、一圈不夠在用石英半磚搭建第二圈。
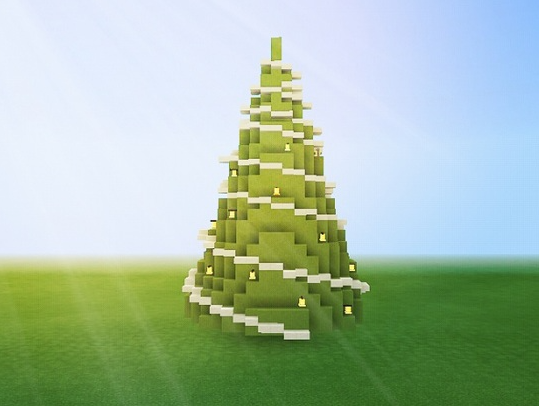
8、樹上用鍾當做鈴鐺均勻擺放,不要擁擠在一起。
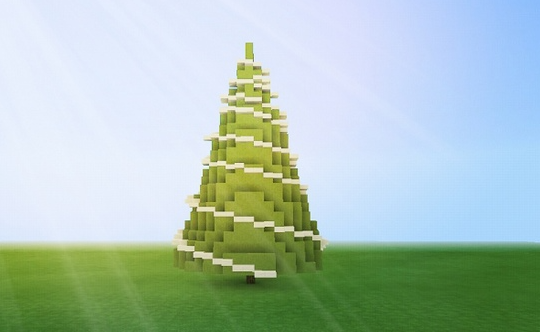
9、用紅羊毛方塊均勻擺放。
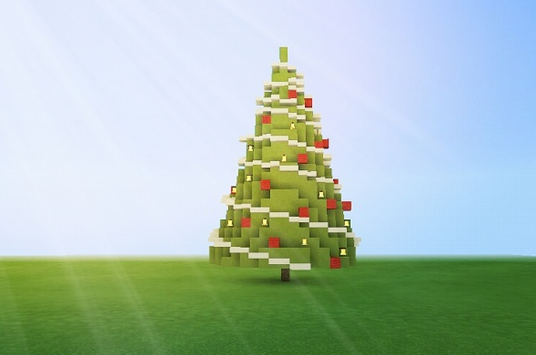
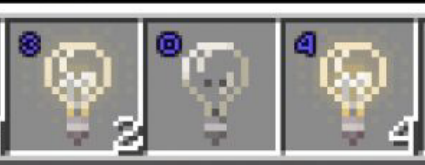
10、螢石均勻擺放,夜晚可以發光。

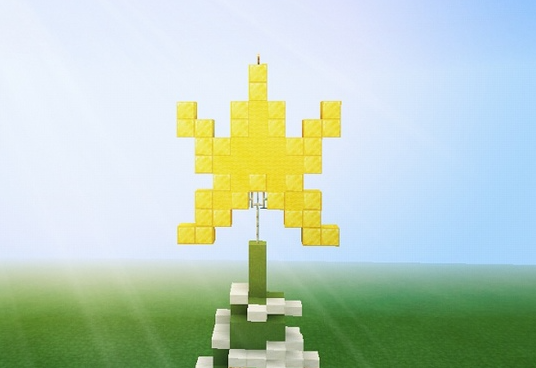
11、樹的頂端搭建星星。
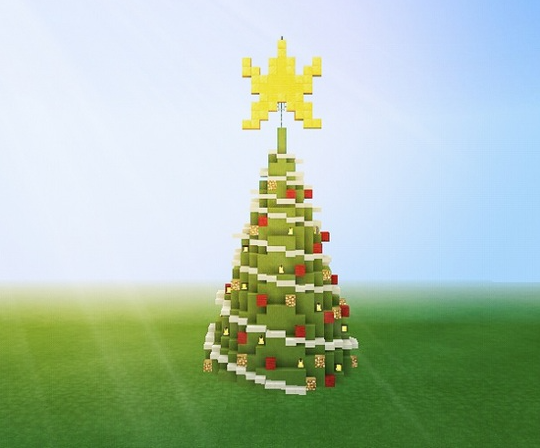
12、一款高手版聖誕樹搭建完成。
以上是我的世界聖誕樹怎麼做的相關回答啊,希望可以幫到您!